- Make sure you have a DTX Studio Go account. If not, go to go.dtxstudio.com, and create an administrator account.
- Ensure that the minimal hardware requirements are met. Use the DTX Studio Ready tool.
Go to https://dexis.com/en-us/download-center or https://dexis.com/en-eu/download-center and search for ‘DTX Studio Ready’.
Alternatively, see the computer guidelines on DTX Studio Go under Additional resources.
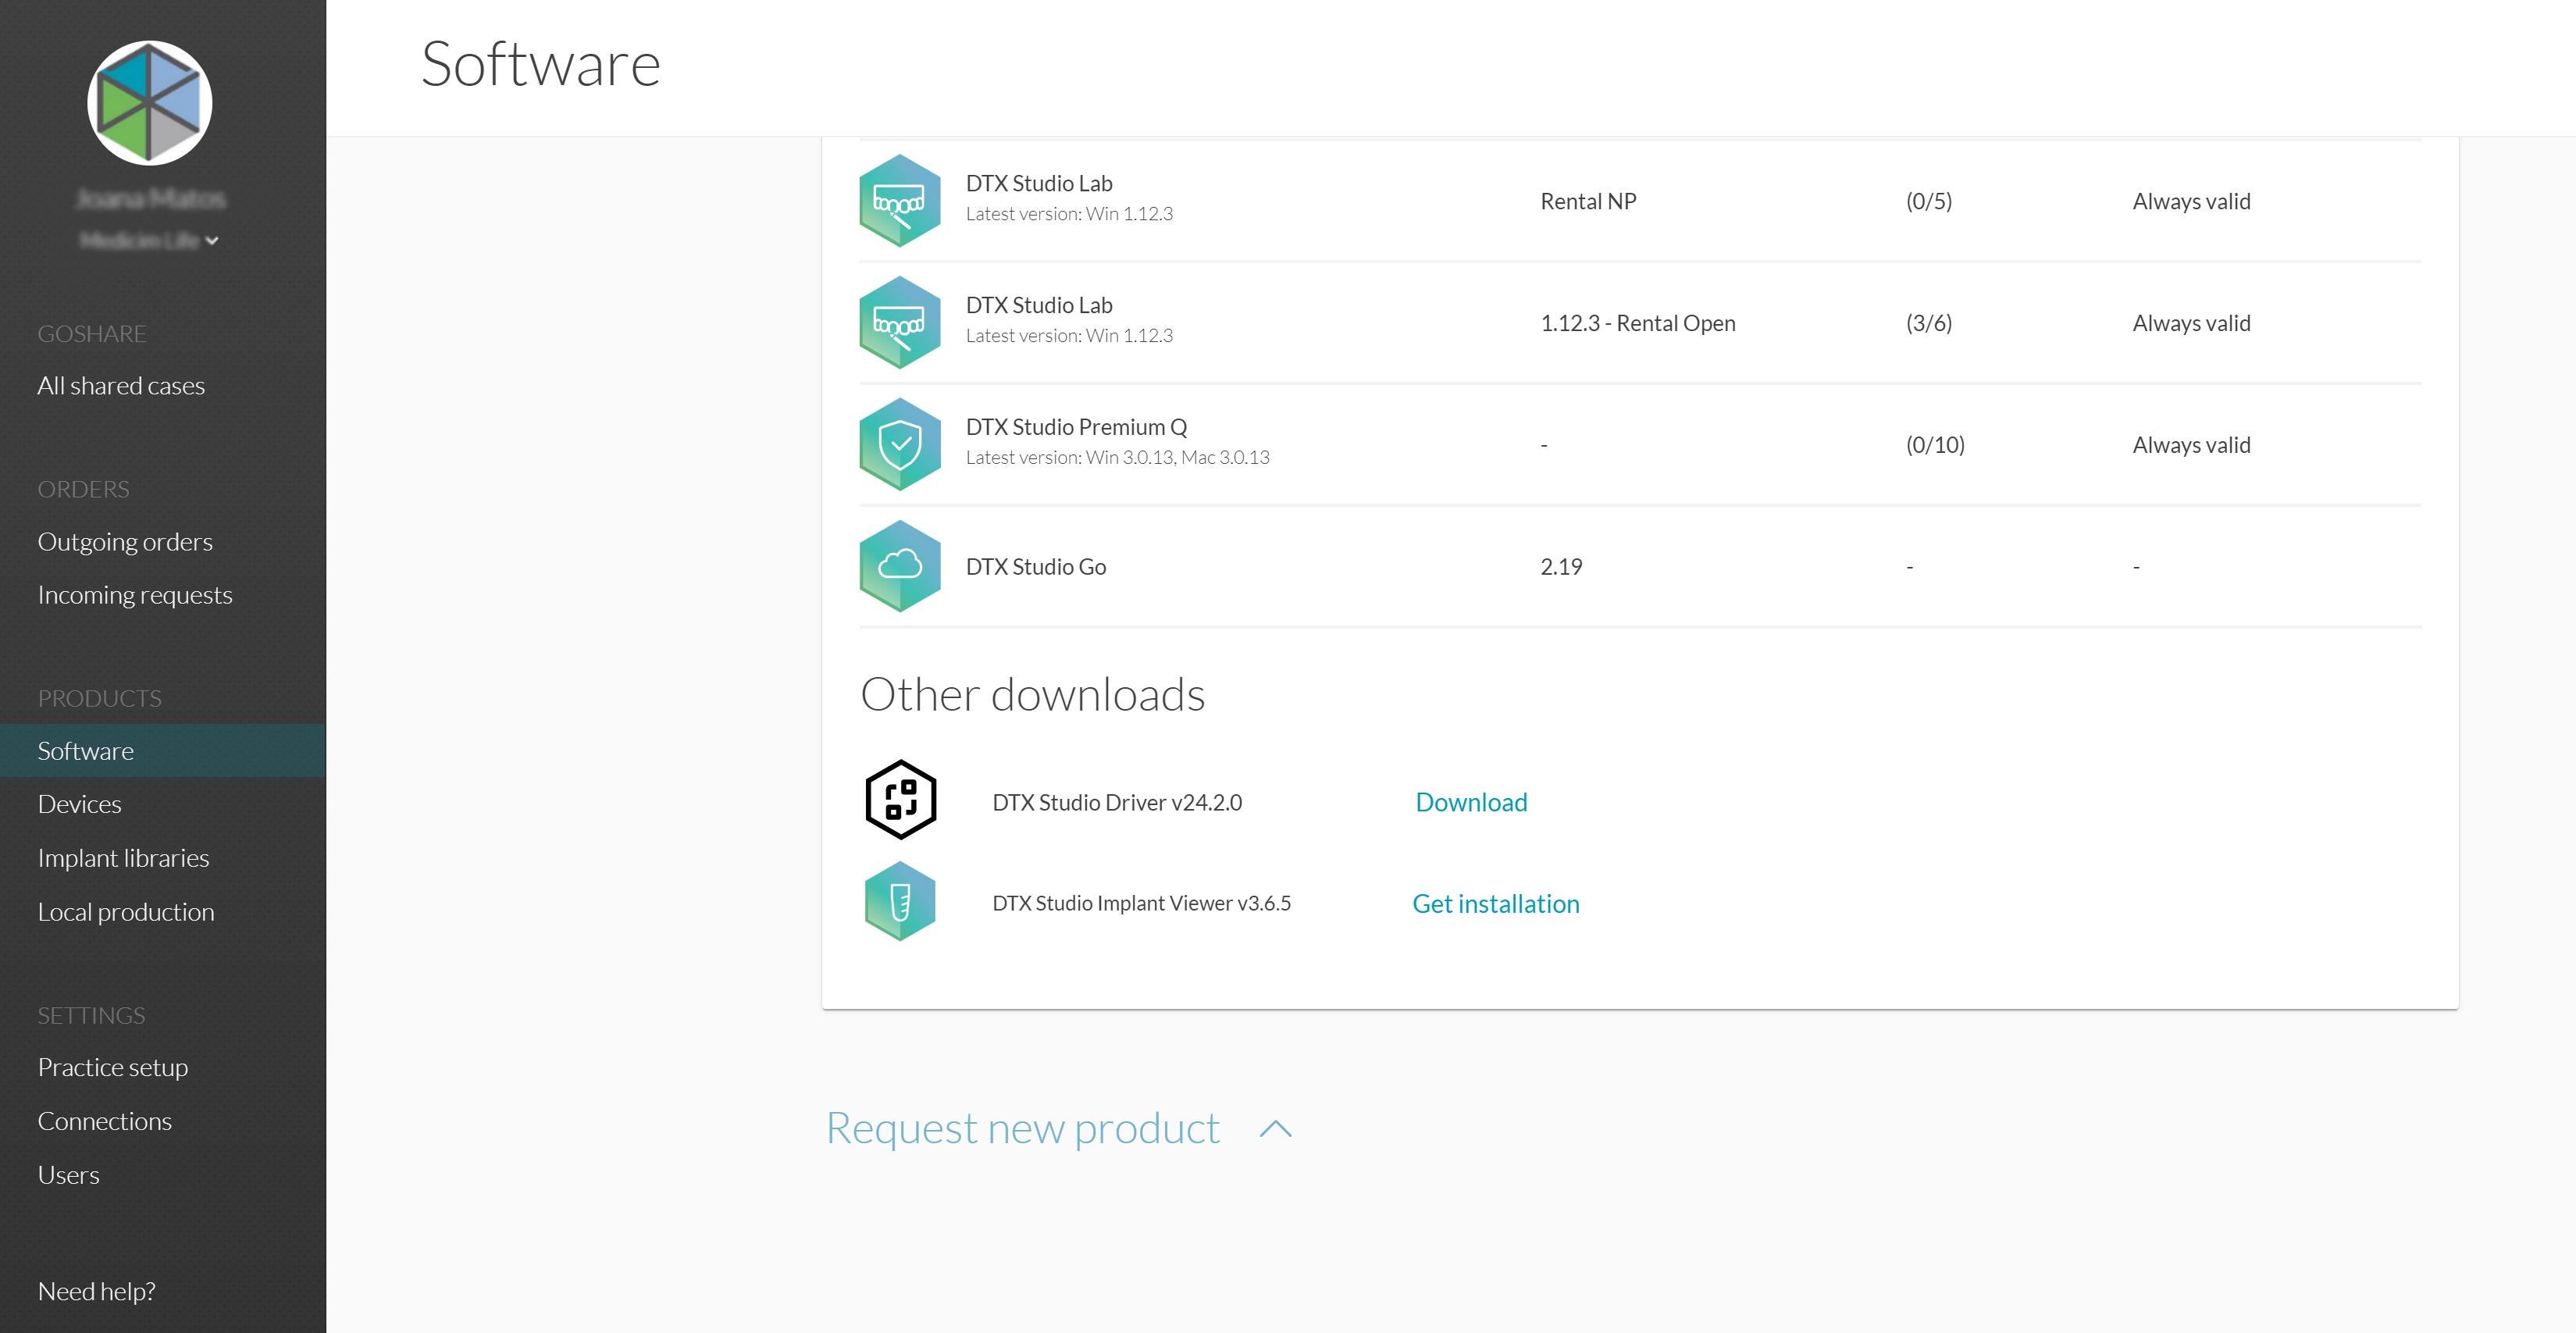
Browse to go.dtxstudio.com and log in with the customer’s account. Navigate to Software, where you will find a list of the purchased products.
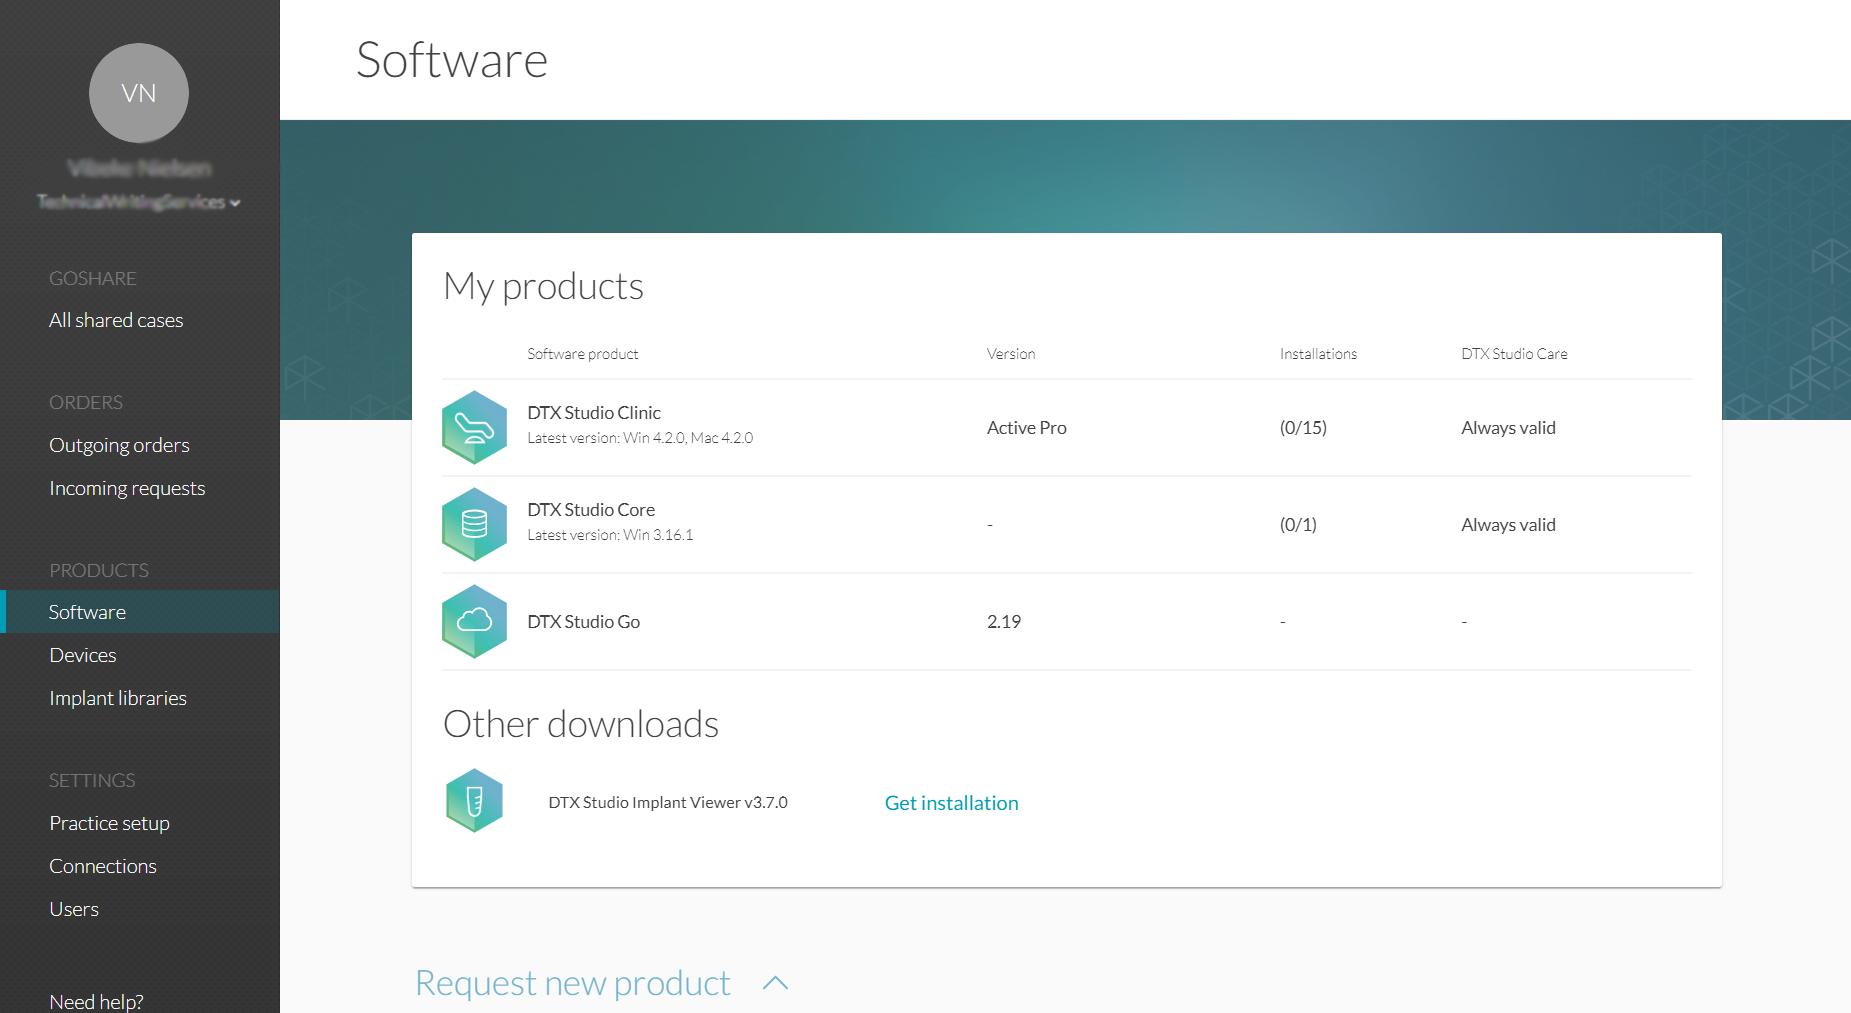
On the Software page:
- Click on DTX Studio Core. Download the installation file to a location that can be accessed on your network or the computer on which DTX Studio Core will be installed. Copy and save the installation key.
- Click on DTX Studio Clinic. Download the installation file to a location that can be accessed from any computer in the practice. Copy and save the installation key.
Install DTX Studio Core like shown in this video.
As an administrator, run the installer file and follow the prompts.
To migrate an existing database (like Cliniview, VixWin, Digora for Windows, …) to a new DTX Studio Core database, use the DTX Studio Core Migration Control Center (MCC). For assistance, contact DTX Studio Technical Support (support@dtxstudio.com).
On DTX Studio Go, download the DTX Studio Driver installer, like shown in step 6.
After unzipping the DTX Studio Driver package, the correct graphics card driver can be found in the NVIDIA Drivers folder.
Install this graphics card driver on the PC on which you will install the DTX Studio Driver, before continuing with step 6.
Install DTX Studio Driver like shown in this video.
On DTX Studio Go, download the DTX Studio Driver installer. As an administrator, run the installer file and follow the prompts. Restart the computer after installation.
To be able to connect a DEXIS imaging device to the DTX Studio Core, set up device discovery like shown in this video.
- On DTX Studio Core, select Advanced Settings.
- Under Device discovery, click Edit.
- Select the DTX Studio Driver PC that will discover new devices on your network.
Connect your image acquisition devices:
For other devices, contact the reseller of that device or contact support. A list of supported devices can be found here: https://dtxstudio.com/en-int/compatible-devices-and-supported-file-formats.
For devices that are not in the list of supported devices, you could try to get the images in DTX Studio Clinic using the watch folder.
Install DTX Studio Clinic like shown in this video.
As an administrator, run the installer file and follow the prompts.
In the DTX Studio Clinic settings:
- Fill in the DICOM compliance settings.
- Set the tooth numbering system, date and time format and language.
- Set the image preferences.
Install DTX Studio Implant like shown in this video.
As an administrator, run the installer file and follow the prompts.
To optimise the image quality shown on your screen, make sure to update your graphics card. Follow the instructions of the graphics card manufacturer to update the drivers correctly.
Connect DTX Studio Clinic to:
- DTX Studio Core: In the DTX Studio Clinic settings, enter the DTX Studio Core URL. See Connect DTX Studio Clinic to DTX Studio Core .
- DTX Studio Implant: In the DTX Studio Clinic settings, enter the DTX Studio Implant file path. See Connect DTX Studio Clinic to DTX Studio Implant .
- Your PMS system: In the DTX Studio Clinic settings, enable PMS integration. The settings depend on your PMS system. Test the PMS system afterwards. See DTX Studio Clinic to a PMS system .
- Other applications: In the settings, set up Quick launch.
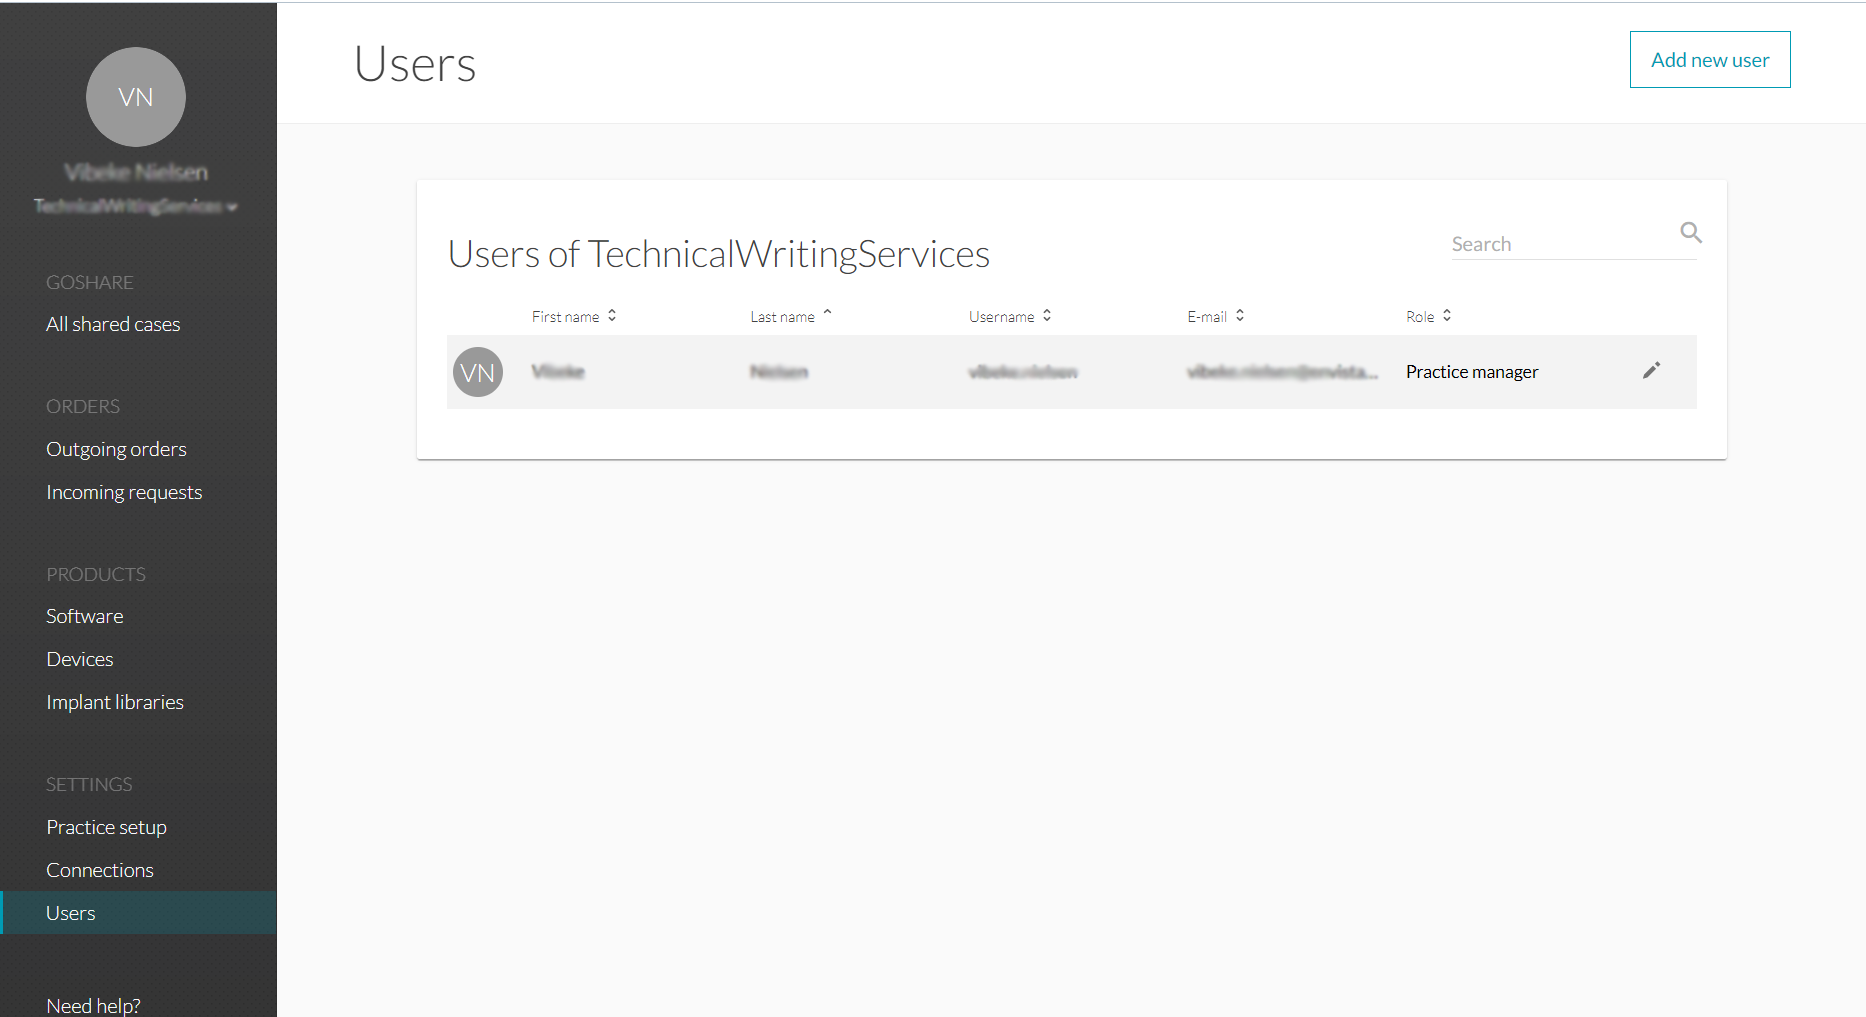
To create a user for a member of the practice:
- On DTX Studio Go, select Users.
- Click Add new user and follow the instructions.
To link the new user to DTX Studio Clinic:
- On the software details page, click Add users.
- Select the user you want to add and click Add.
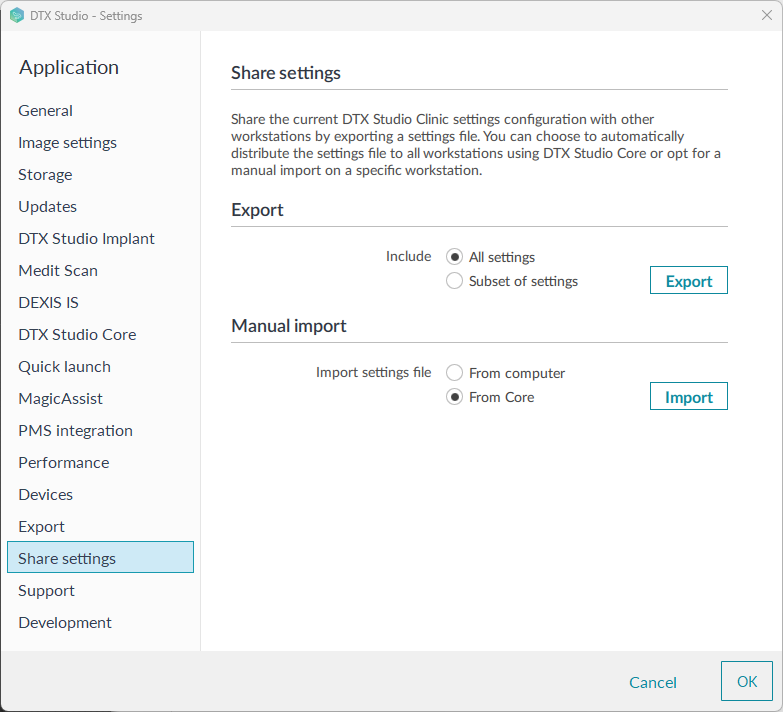
To replicate the DTX Studio Clinic settings, export the settings from the first installation, and import on the other PCs on which DTX Studio Clinic is installed.